Using Playwright to test APIs
You probably know that Microsoft’s Playwright is a solid tool for end-to-end testing, enabling you to control headless browsers and check essential user flows. But did you know that you can also use Playwright for API testing? If you didn’t, then this guide is for you.
In this post, we’ll explore how Playwright can be used to test a GraphQL API (but don’t worry if you’re using REST; Playwright can handle any HTTP-based API). Let’s dive into an example using the countries.trevorblades.com GraphQL API.
Our demo GraphQL API
In this API, you might request a list of countries along with their codes and languages. You can even customize the response to include additional fields like the language code.
This is a GraphQL api, which is supported in Playwright. GraphQL works by sending a POST request with a query in the request body. Let’s see how to write a Playwright test for this API.
The Test Case
To get started, let’s look at a basic test using Playwright. Below is an api.ts file that defines a test case doing little more than ensuring that our GraphQL API is responding with expected data.
import { test, expect } from '@playwright/test'

test('the GraphQL API works', async ({ request }) => {
  const response = await request.post('https://countries.trevorblades.com/', {
    data: {
      query: `
        query {
          countries {
            code
            languages {
              code
            }
          }
        }
      `, // request the code for each country and language
    },
  });

  const body = await response.json()
  console.log(body) // This logs the API response

  expect(body.data.countries).toHaveLength(250)
})
In this test, we’re using the request fixture instead of the usual page fixture. See a little documentation on playwright.dev on the different fixture types available. Using request gives us a clean new API context with no special headers. We send a basic request, log the whole response, and then check the length of the response.
Running the test
When you run npx playwright test, you should see the data returned by the API printed in the terminal. If everything is working, the test should pass.
When running tests locally you’ll probably want to separate your API tests, the simplest path being to save your API tests with a different naming convention and then filter your test command like npx playwright test api.spec.ts.
Adding assertions
Previously we were just checking that the response had the correct length.
expect(body.data.countries).toHaveLength(250)
To confirm that the assertion works, you can deliberately break the test by expecting 251 entries instead. This should trigger a failure.
To go a bit deeper, let’s compare the response to a stored JSON file:
import { test, expect } from '@playwright/test'
import countryData from './response.json'

test('the GraphQL API works', async ({ request }) => {
  const response = await request.post('https://countries.trevorblades.com/', {
    data: {
      query: `
        query {
          countries {
            code
            languages {
              code
            }
          }
        }
      `,
    },
  })

  const body = await response.json()
  expect(body).toEqual(countryData)
})
This version requires that you provide a JSON file with the expected response (that response.json file that’s imported at the top). That’s not ideal, instead, let’s use playwright’s snapshot tool so that we can take an initial snapshot of the JSON and compare later runs to that initial version. We’ll replace the line:
expect(body).toEqual(countryData)
with
expect(JSON.stringify(allCountries)).toMatchSnapshot()
Now we’ll need to run our test locally at least once with the -update-snapshots flag, and we’ll save an initial version of the JSON to compare later:
npx playwright test -update-snapshots
The nice thing about this method is, not having to fool around with the file system, it means we can run this test from automated testing and monitoring platforms like Checkly without having to send example JSON or encode it into our test code.
Filtering your API response
While we could parse the JSON of the large response we got in our previous test, a more focused test would make a filtered request from the API, and just examine that response.
test('the GraphQL API works for one country', async ({ request }) => {
  const germanyResponse = await request.post('https://countries.trevorblades.com/', {
    data: {
      query: `
        query {
          countries(filter: { code: { eq: "DE" } }) {
            code
          }
        }
      `,
    },
  })

  const germany = await germanyResponse.json()

  expect(germany.data.countries).toHaveLength(1)
  expect(germany.data.countries[0].code).toBe('DE')
})
This test now validates a filtered response, all within the same Playwright test case.
Continuous Monitoring with Playwright and Checkly
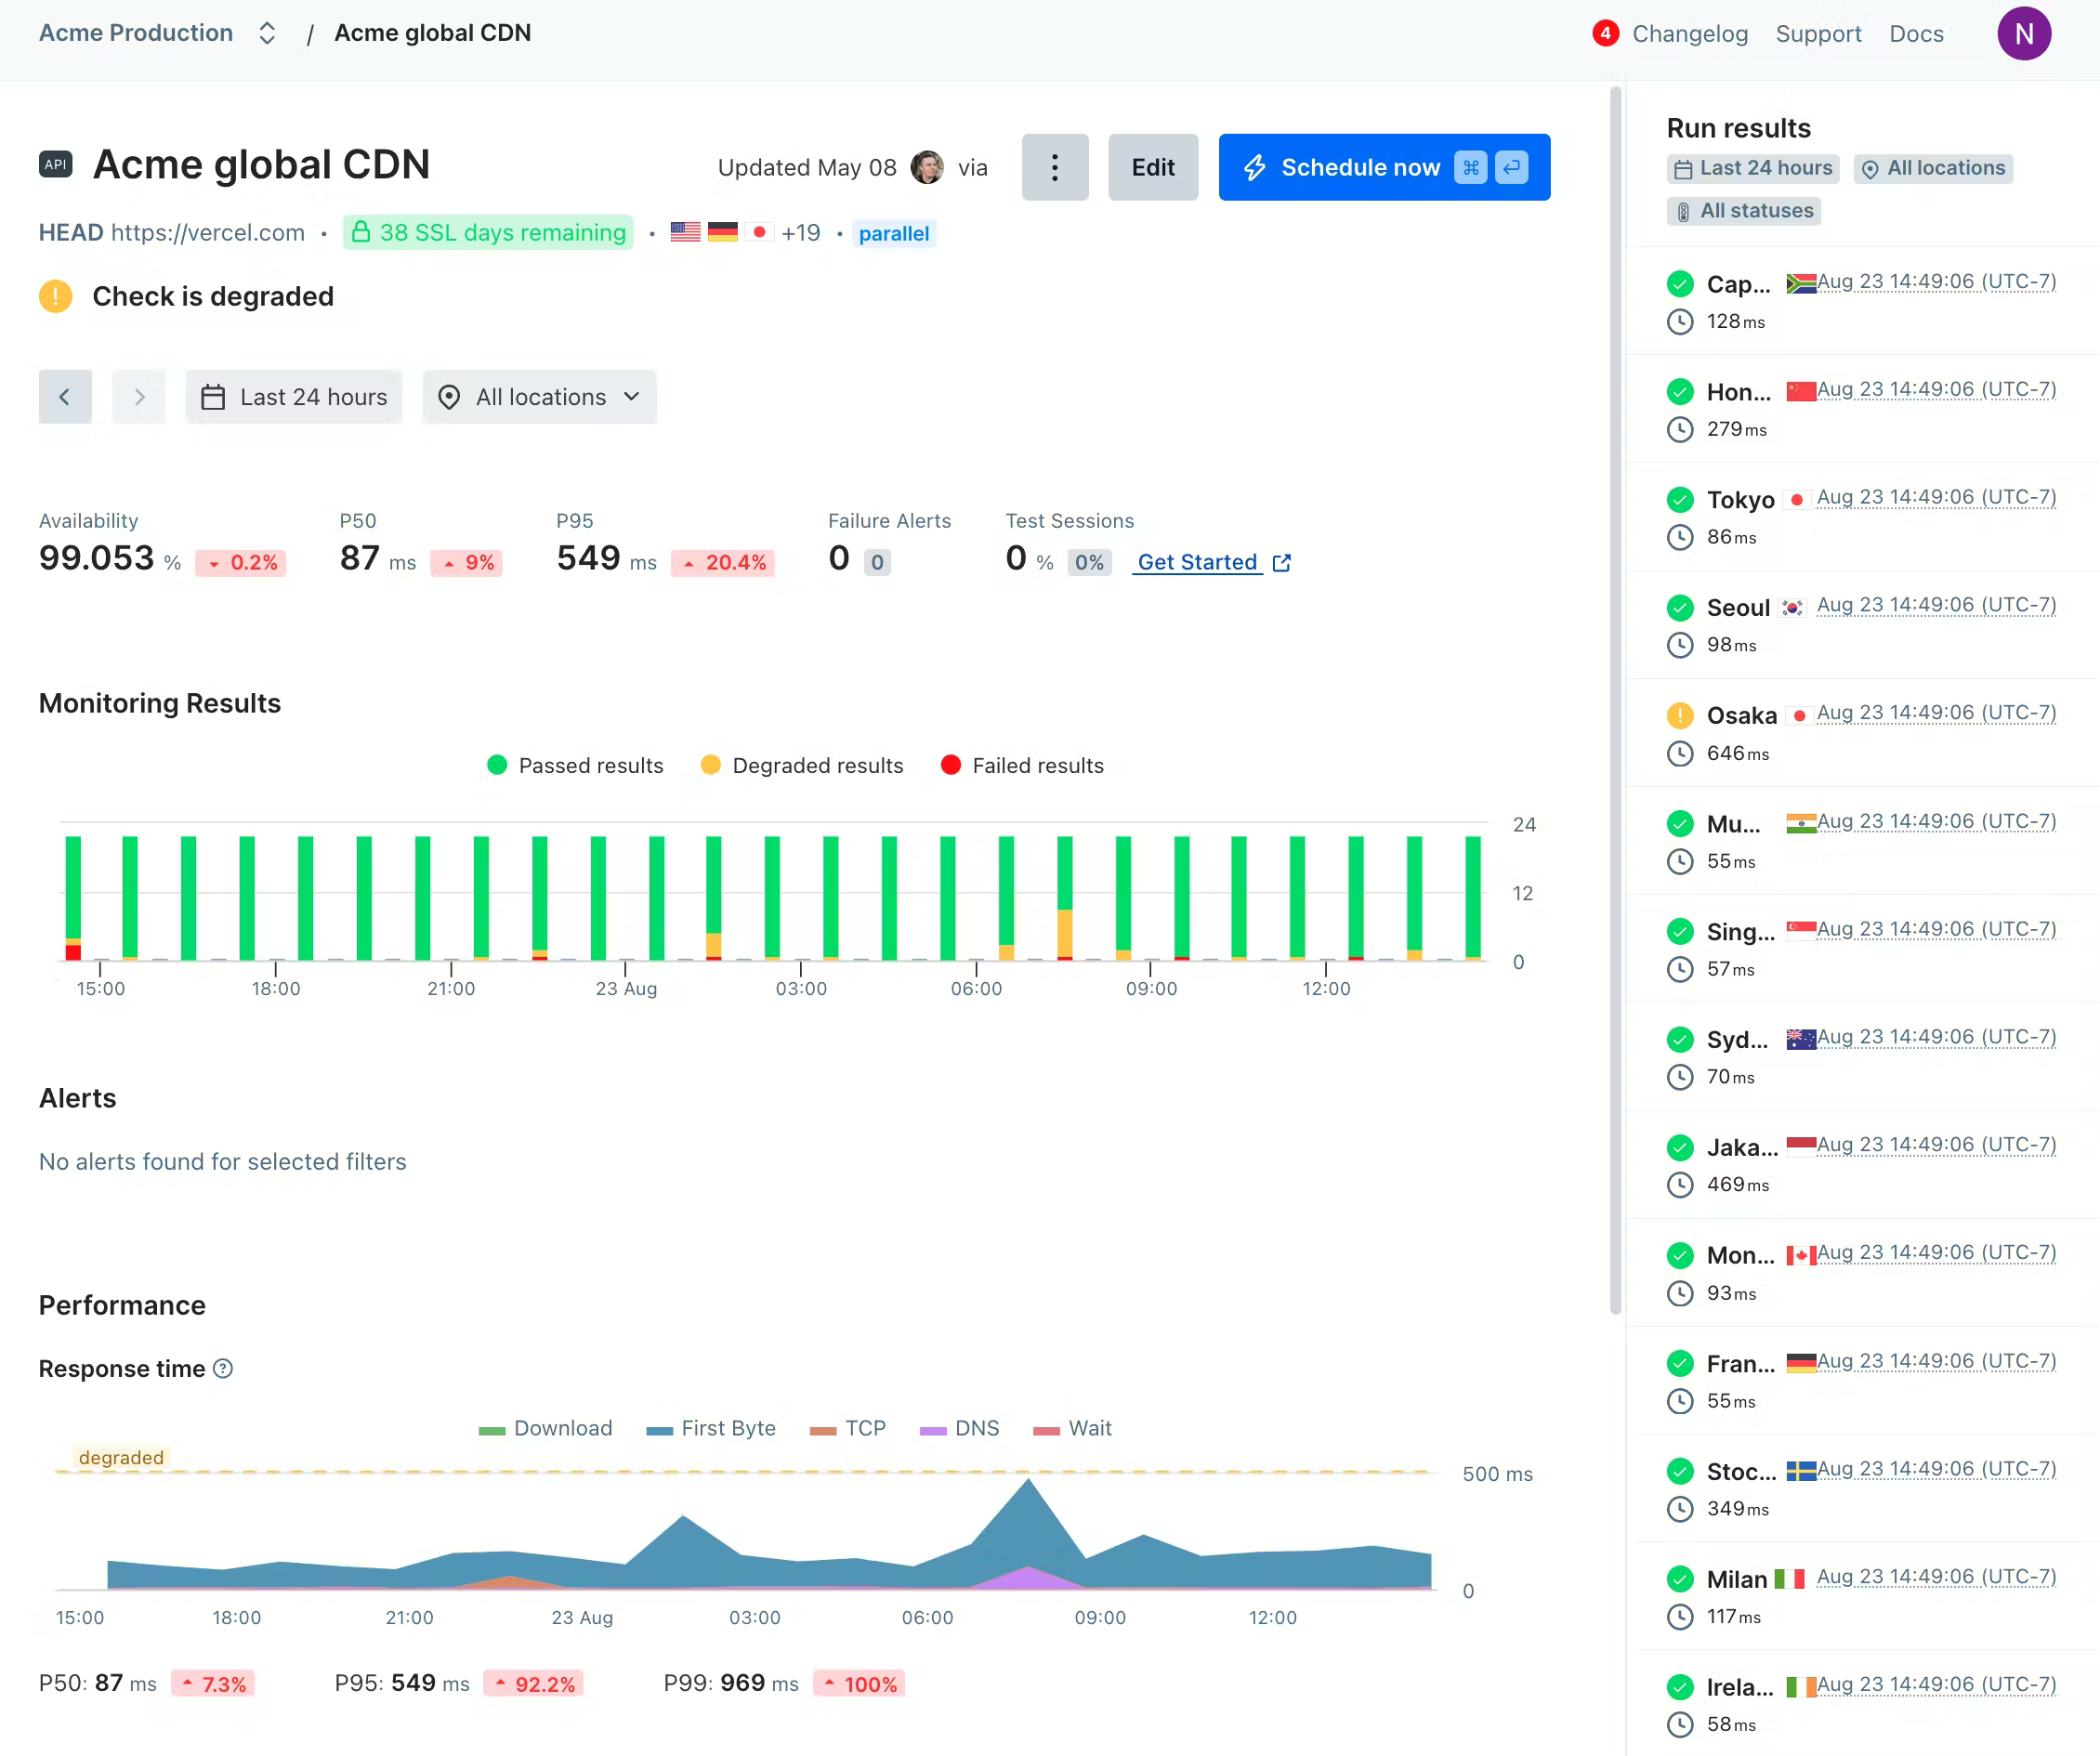
By running multiple small API requests from within Playwright, you can verify the underlying APIs you need for your pages. If you want to monitor all your API endpoints continually, check out Checkly’s API monitors. Checkly API monitors let you run on a schedule with dynamic notification settings and retries, run from multiple geographies, and even run setup and teardown scripts to add logic for your test, and clean up after your test.

The dashboard for a Checkly API check, complete with response times, failures and retries, and checks run from multiple locations
As a bonus, Checkly’s API checks are cheaper to run than browser checks.
Conclusion
Playwright isn’t just for browser testing; it’s also a powerful tool for API testing. By combining it with a monitoring service like Checkly, you can ensure that your APIs are reliable and catch issues before your users do.
If you’d like to see how a Checkly works with Playwright to give you a total picture of the state of your services check out our pricing, or join our Slack to meet other engineers going further with Playwright.