Getting started
This guide gives you all the info needed to get started with Checkly heartbeat checks.
Check out this video for a quick explainer:
What is a heartbeat check?
A heartbeat check is a passive check type that expects pings from an external source, such as a scheduled job on a server, at a defined interval. A ping is an HTTP request to a given endpoint URL using either the GET or POST method.
When a ping is not received on time, the check will trigger any configured alerts.
Use heartbeat checks to monitor backup jobs, data imports, and other recurring jobs or scripts.
Here is an example of how to have a Heroku job send a ping to a Checkly heartbeat check.
curl -m 5 --retry 3 https://api.checklyhq.com/heartbeats/ping/bcd964a7-6f15-49a5-bac1-4be8059670ec;
Creating a heartbeat check
To create a new heartbeat check, click the + icon on the sidebar & select heartbeat check.
Creating a heartbeat check is quick and easy; the check requires a name and the period and grace settings defined. These can all be changed later on. Optionally, you can customize tags or alert settings.
Once you have created your check, the service or host you want to monitor needs to be configured to send a request to the ping URL. When creating or editing the check you can find code examples for how to send requests using JavaScript, Python or in Bash in the quickstart section.
Check breakdown
Name and tag
The check name is used for identifying the check in the list of heartbeat checks and in alert messages. Using a clear and meaningful name will help team members identify the check and can help reduce the reaction time when alerts are triggered.
Tags are used to create meaningful distinctions between check groups, making it easy to filter out selections of checks.
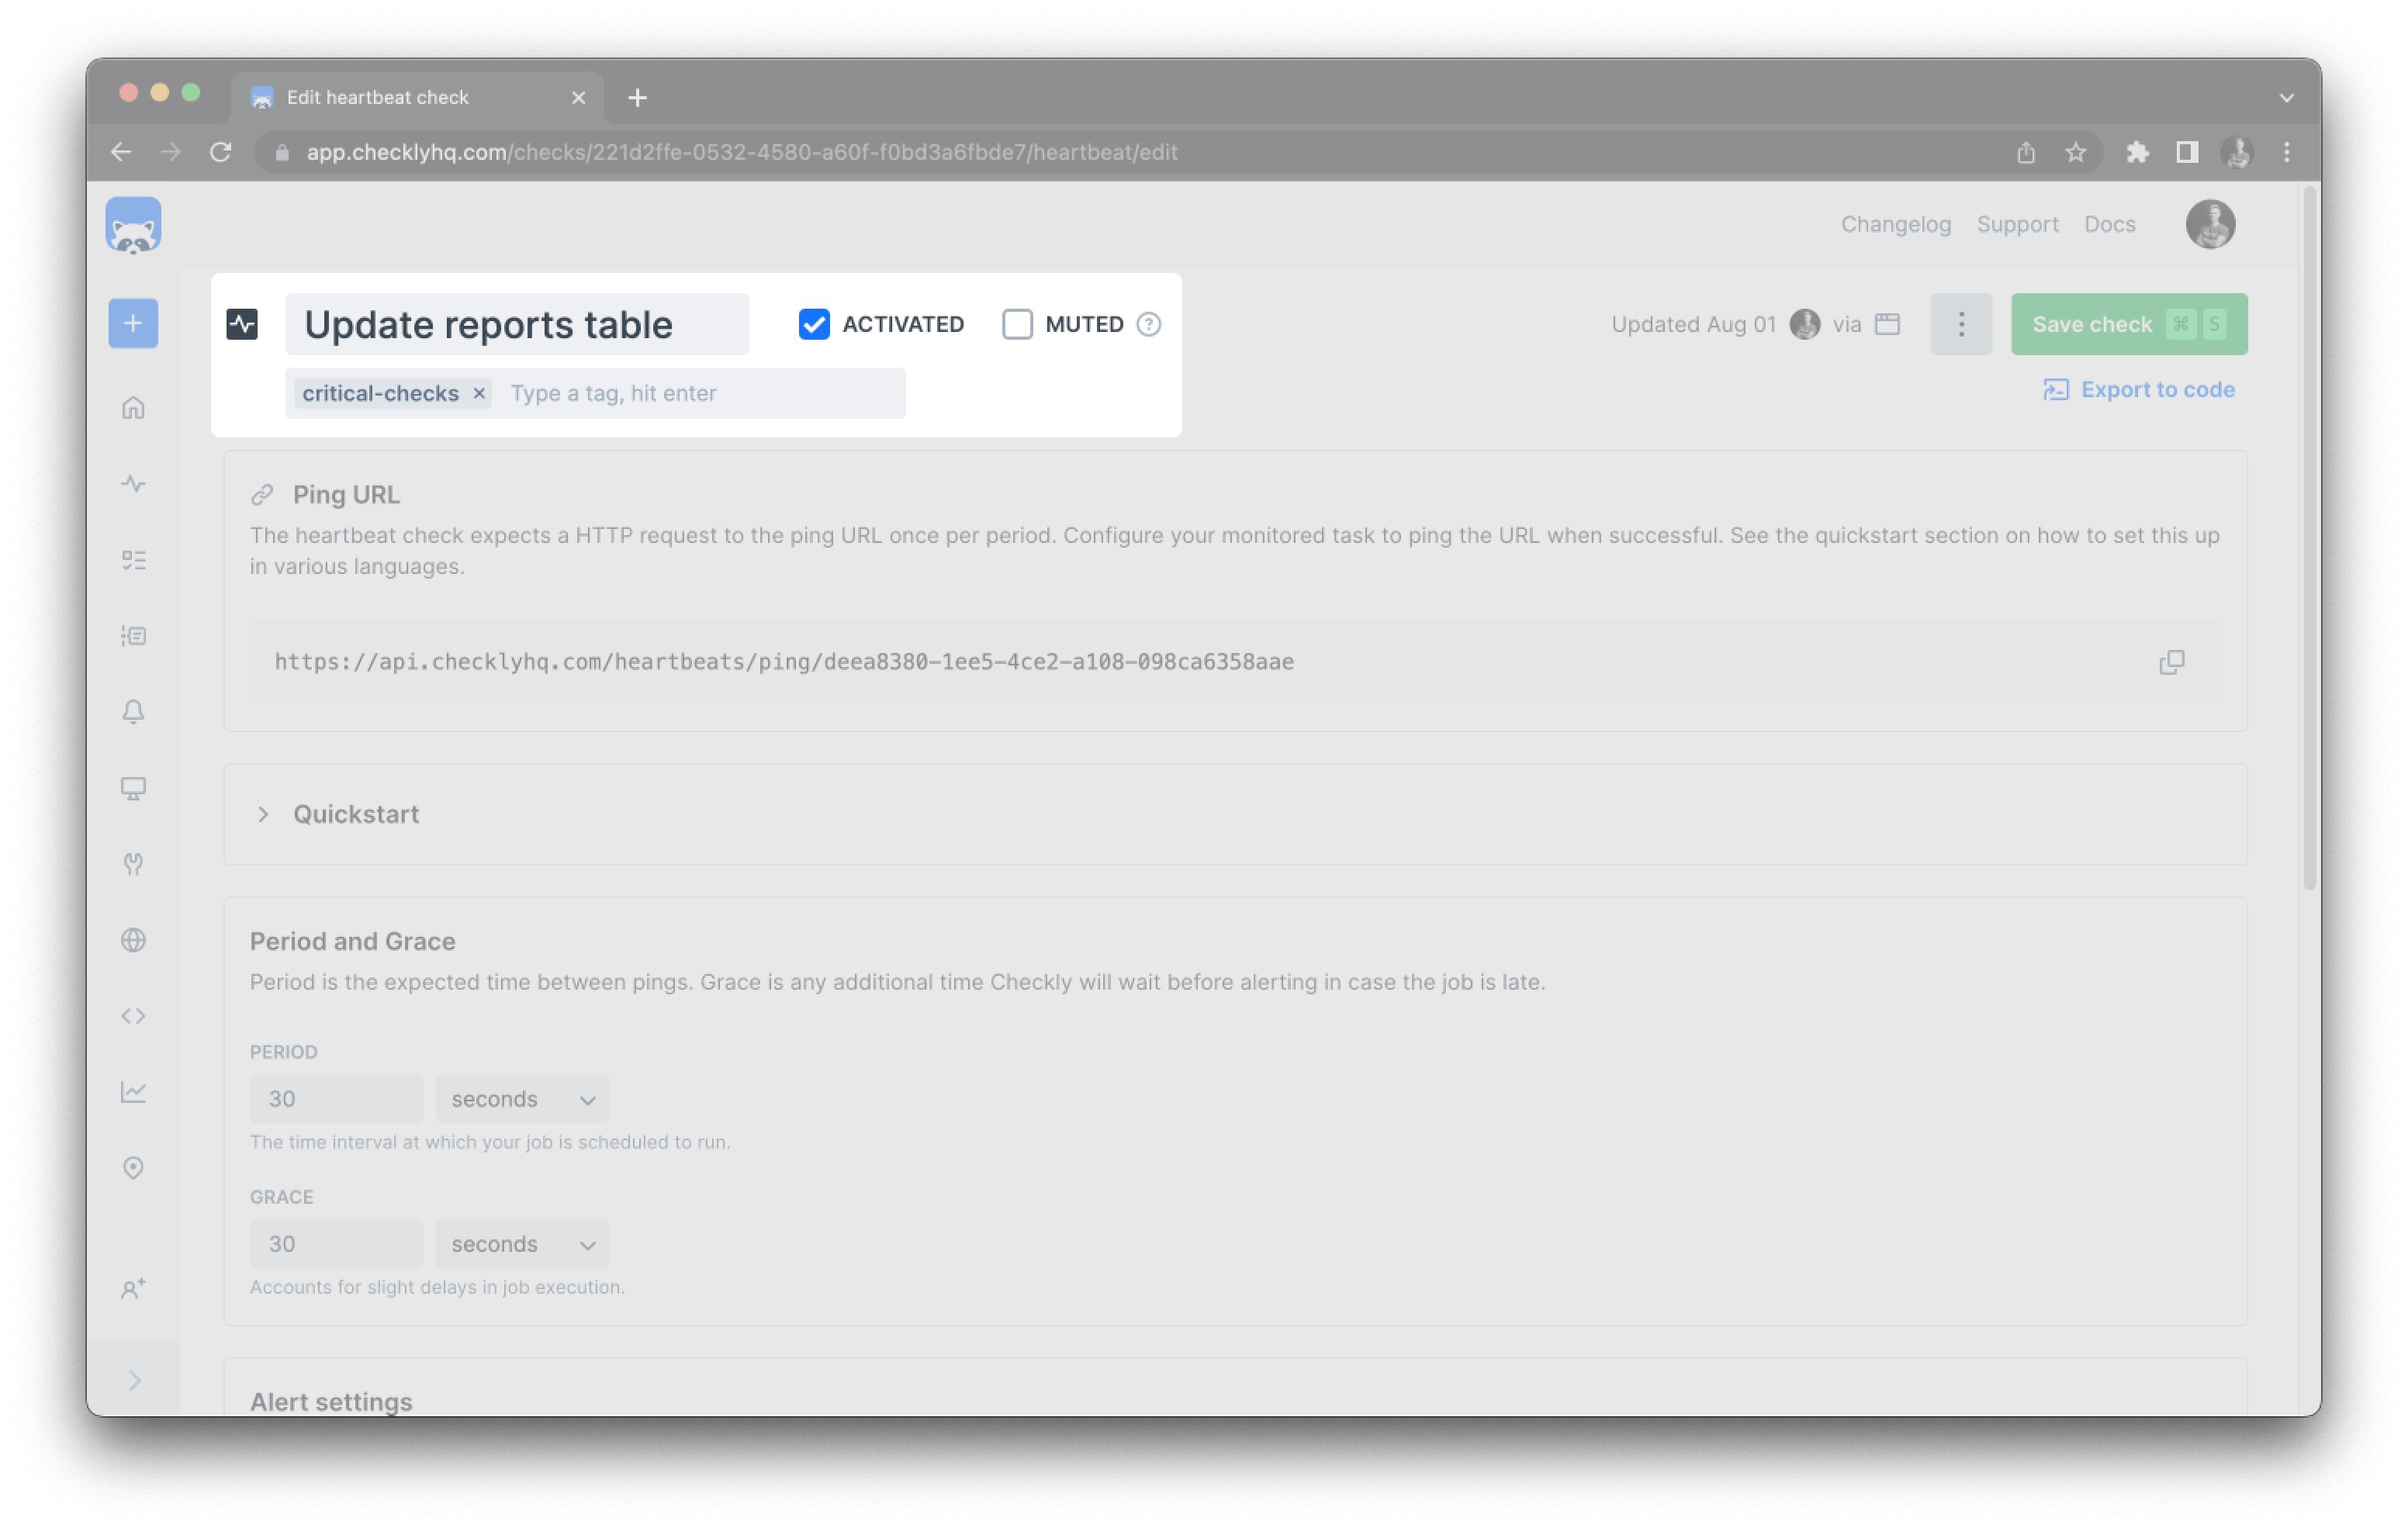
Ping URL
The URL on which the check is listening for pings. The job or task monitored should make an HTTP request to the ping URL once per the period configured.
The incoming request should be either a GET or POST. PUT and DELETE requests will not be recorded as pings, instead an error message will be returned.
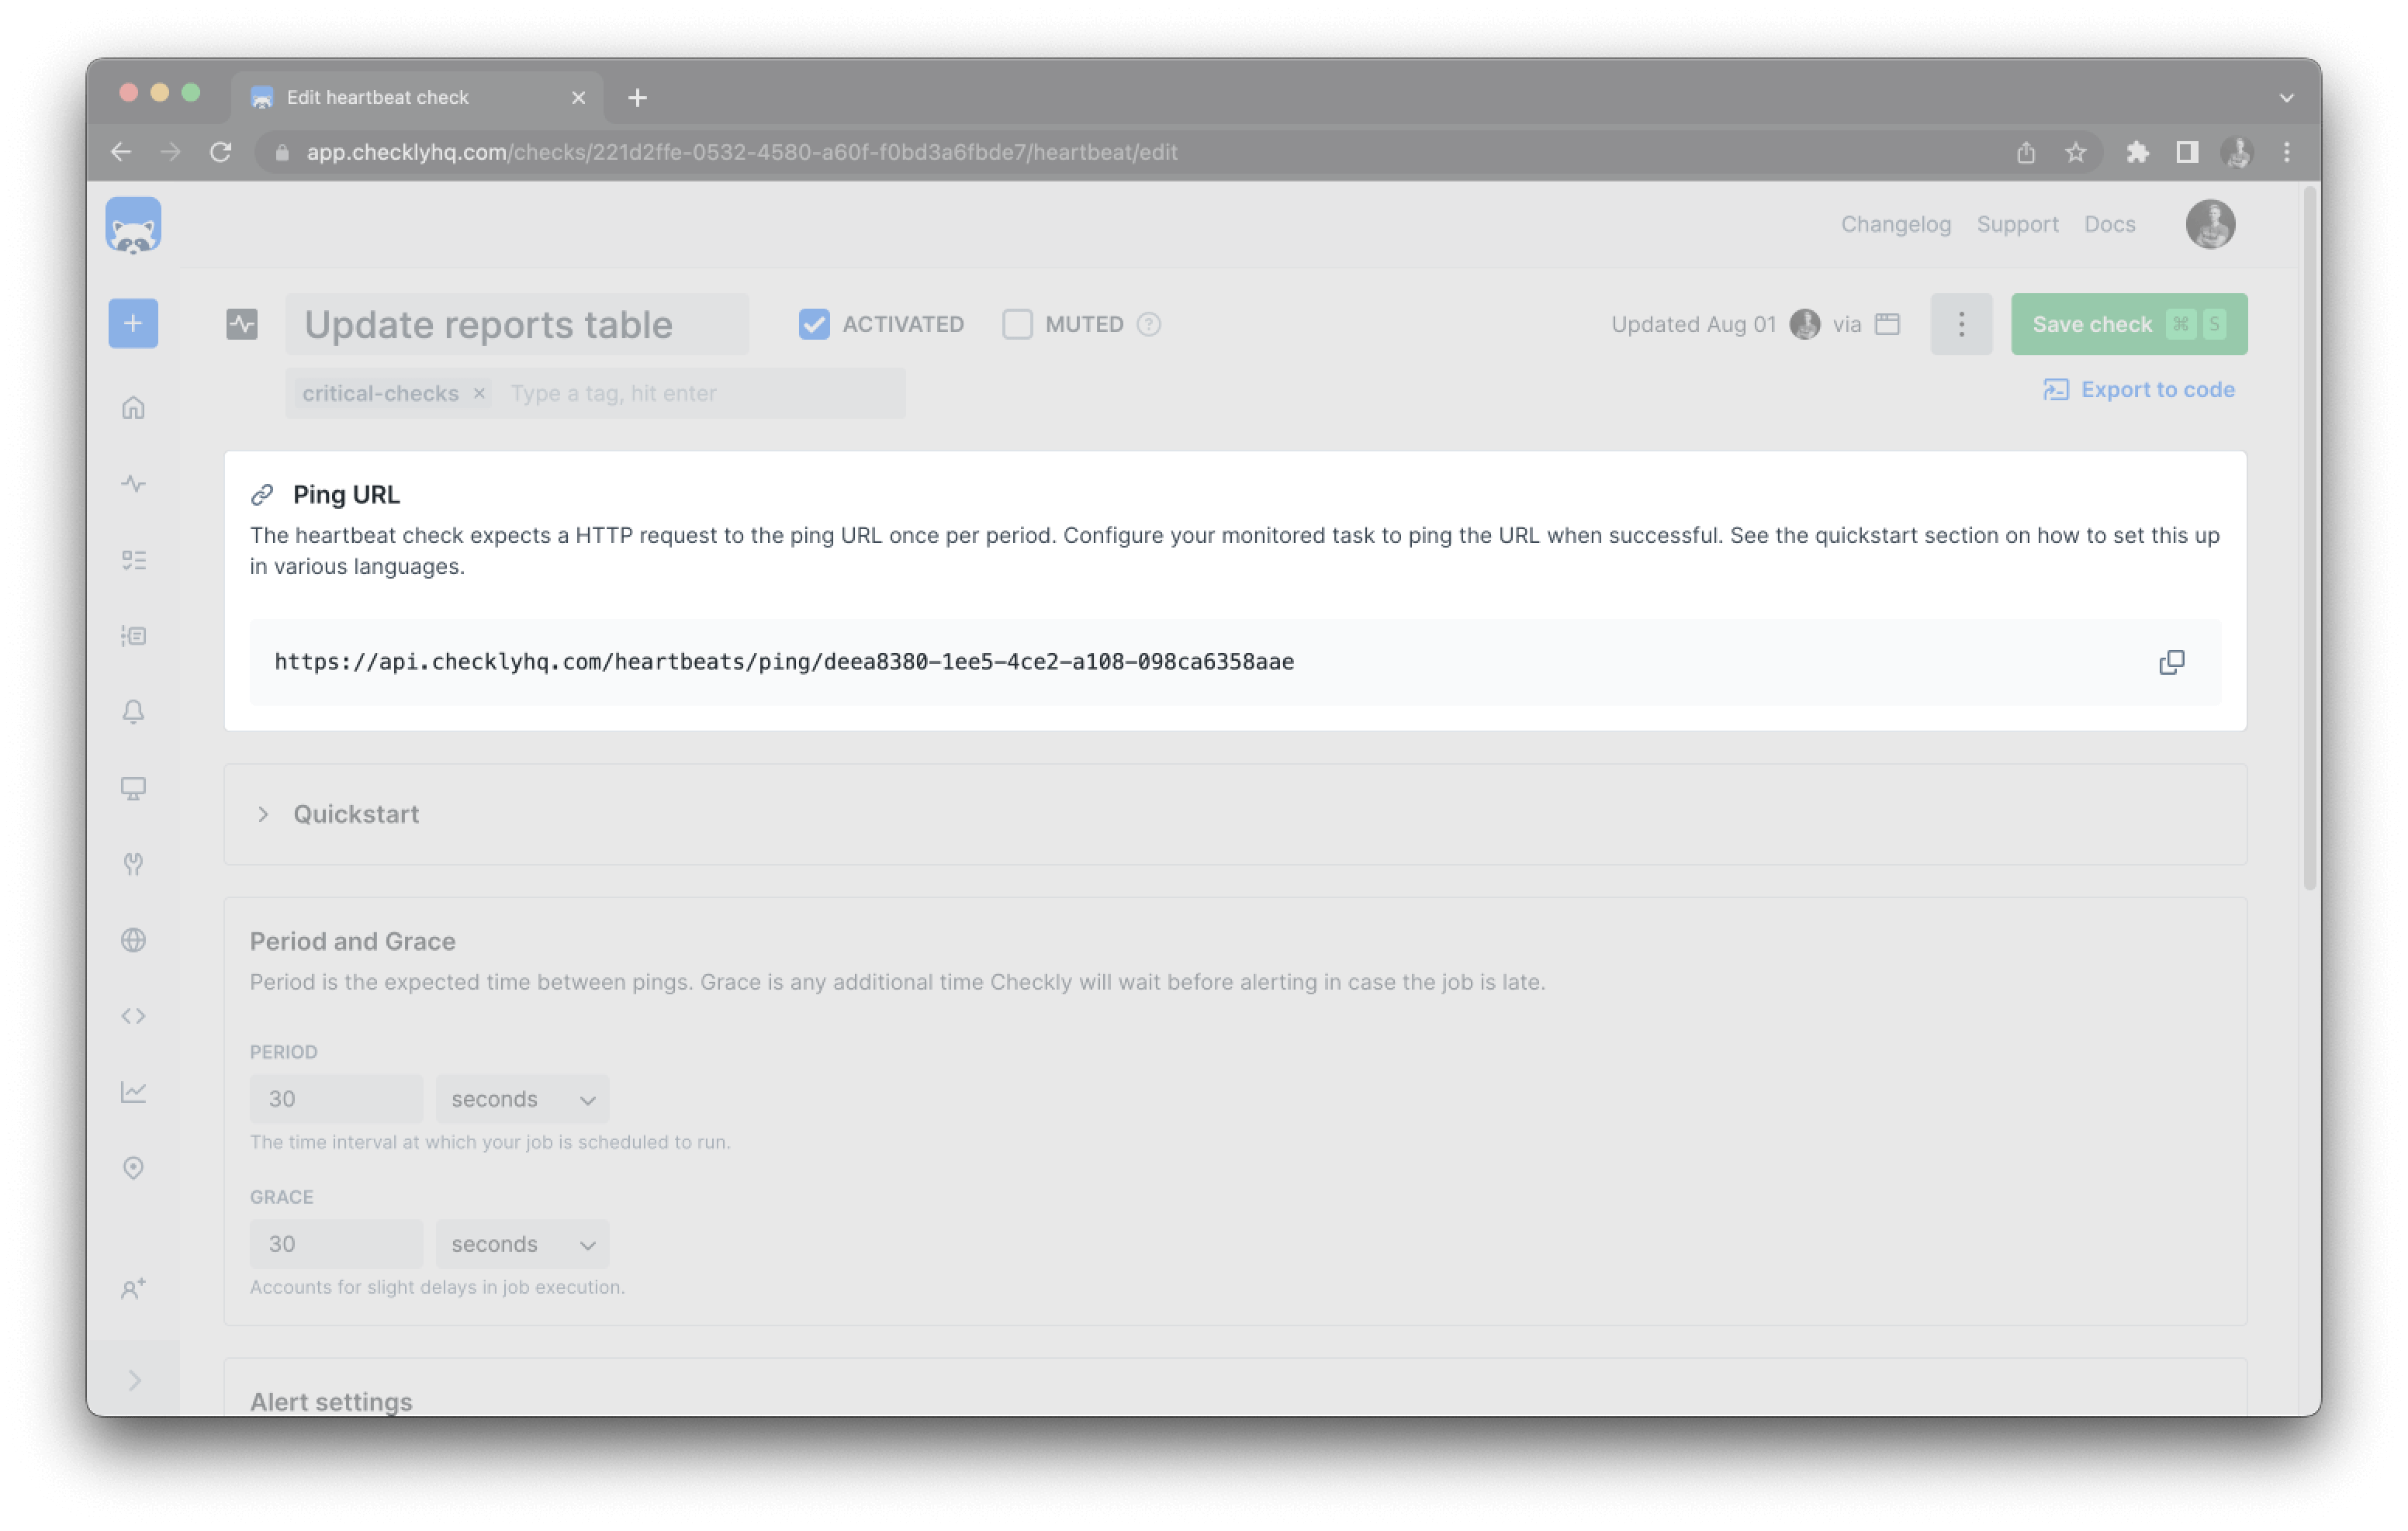
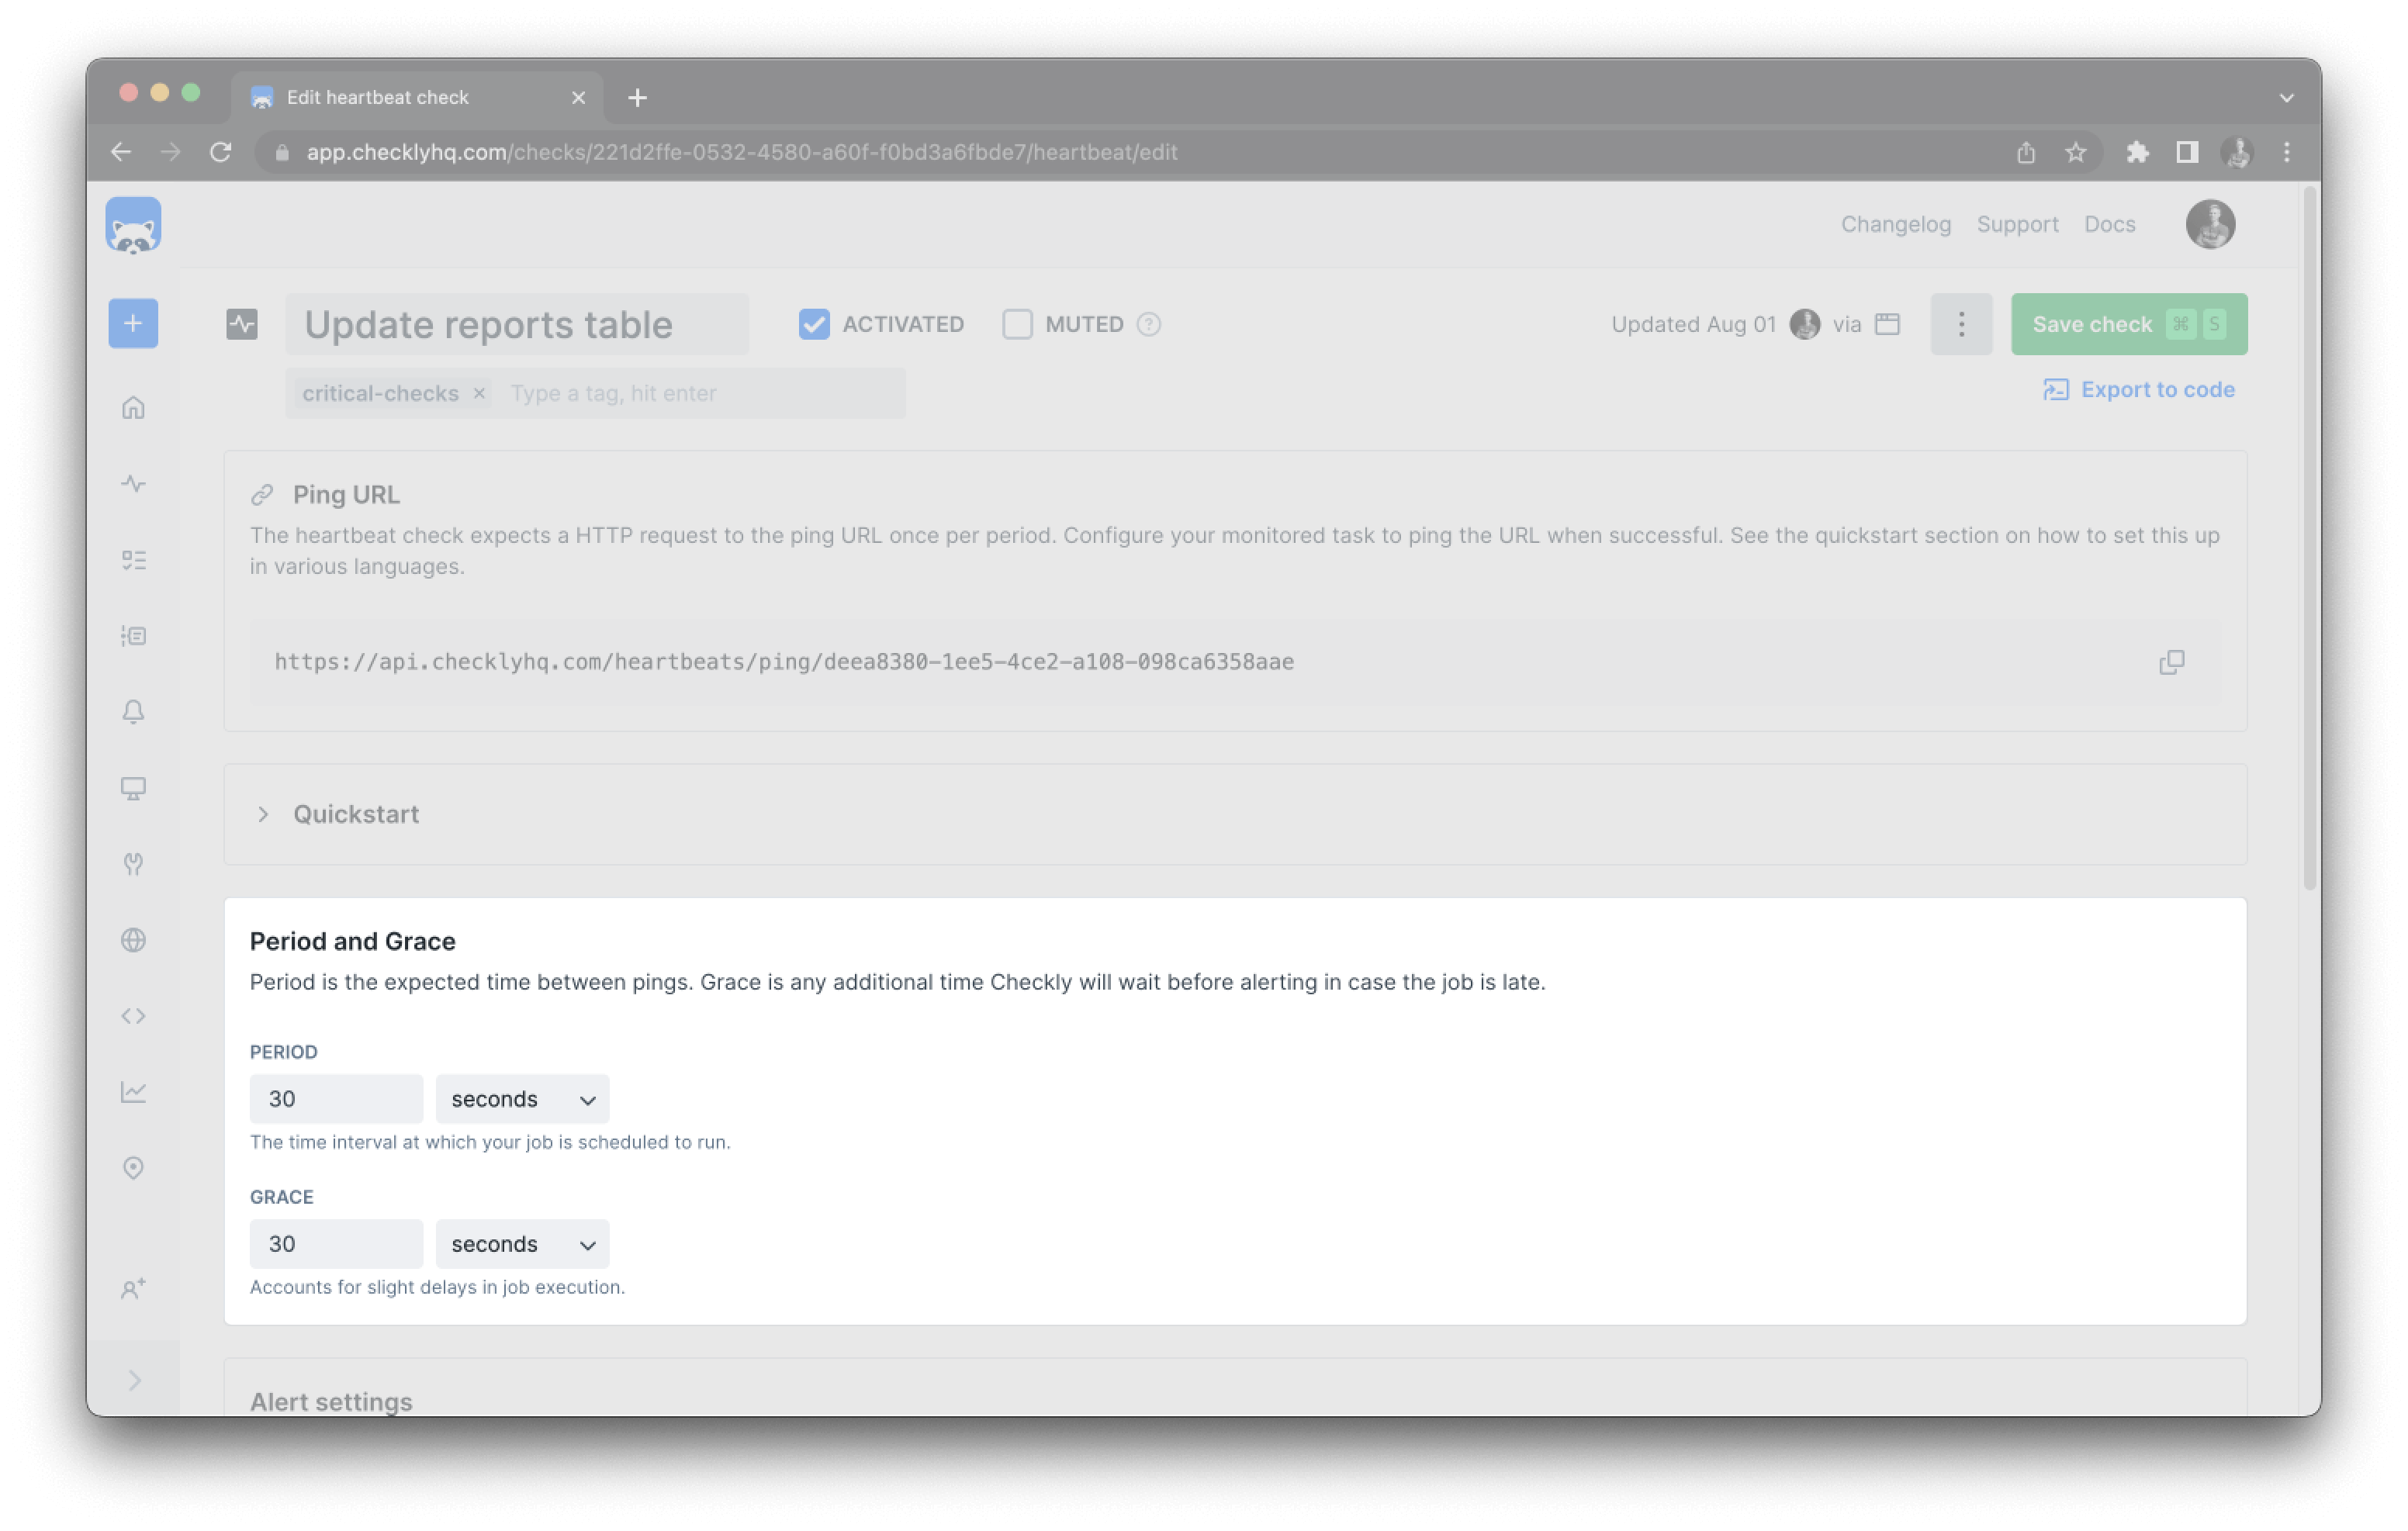
Period and Grace
Period defines how often you expect a ping to the ping URL.
Grace is the time Checkly will wait before triggering any alerts when a ping does not arrive within the set period. E.g., if you have a check that expects a ping every 60 minutes, with a grace of 10 minutes, no alarms would trigger until 70 minutes after the latest ping.
Use grace to compensate for variance in your jobs.
Timer
The check timer starts when it receives its first ping and will reset after each ping. If you have a check that expects a ping every 60 minutes starting at 09:30, and it receives a ping at 10:00, it will reset the timer to expect a ping before 11:00. If the check does not receive a ping before 11:00 plus any configured grace period it will trigger any configured alerts.
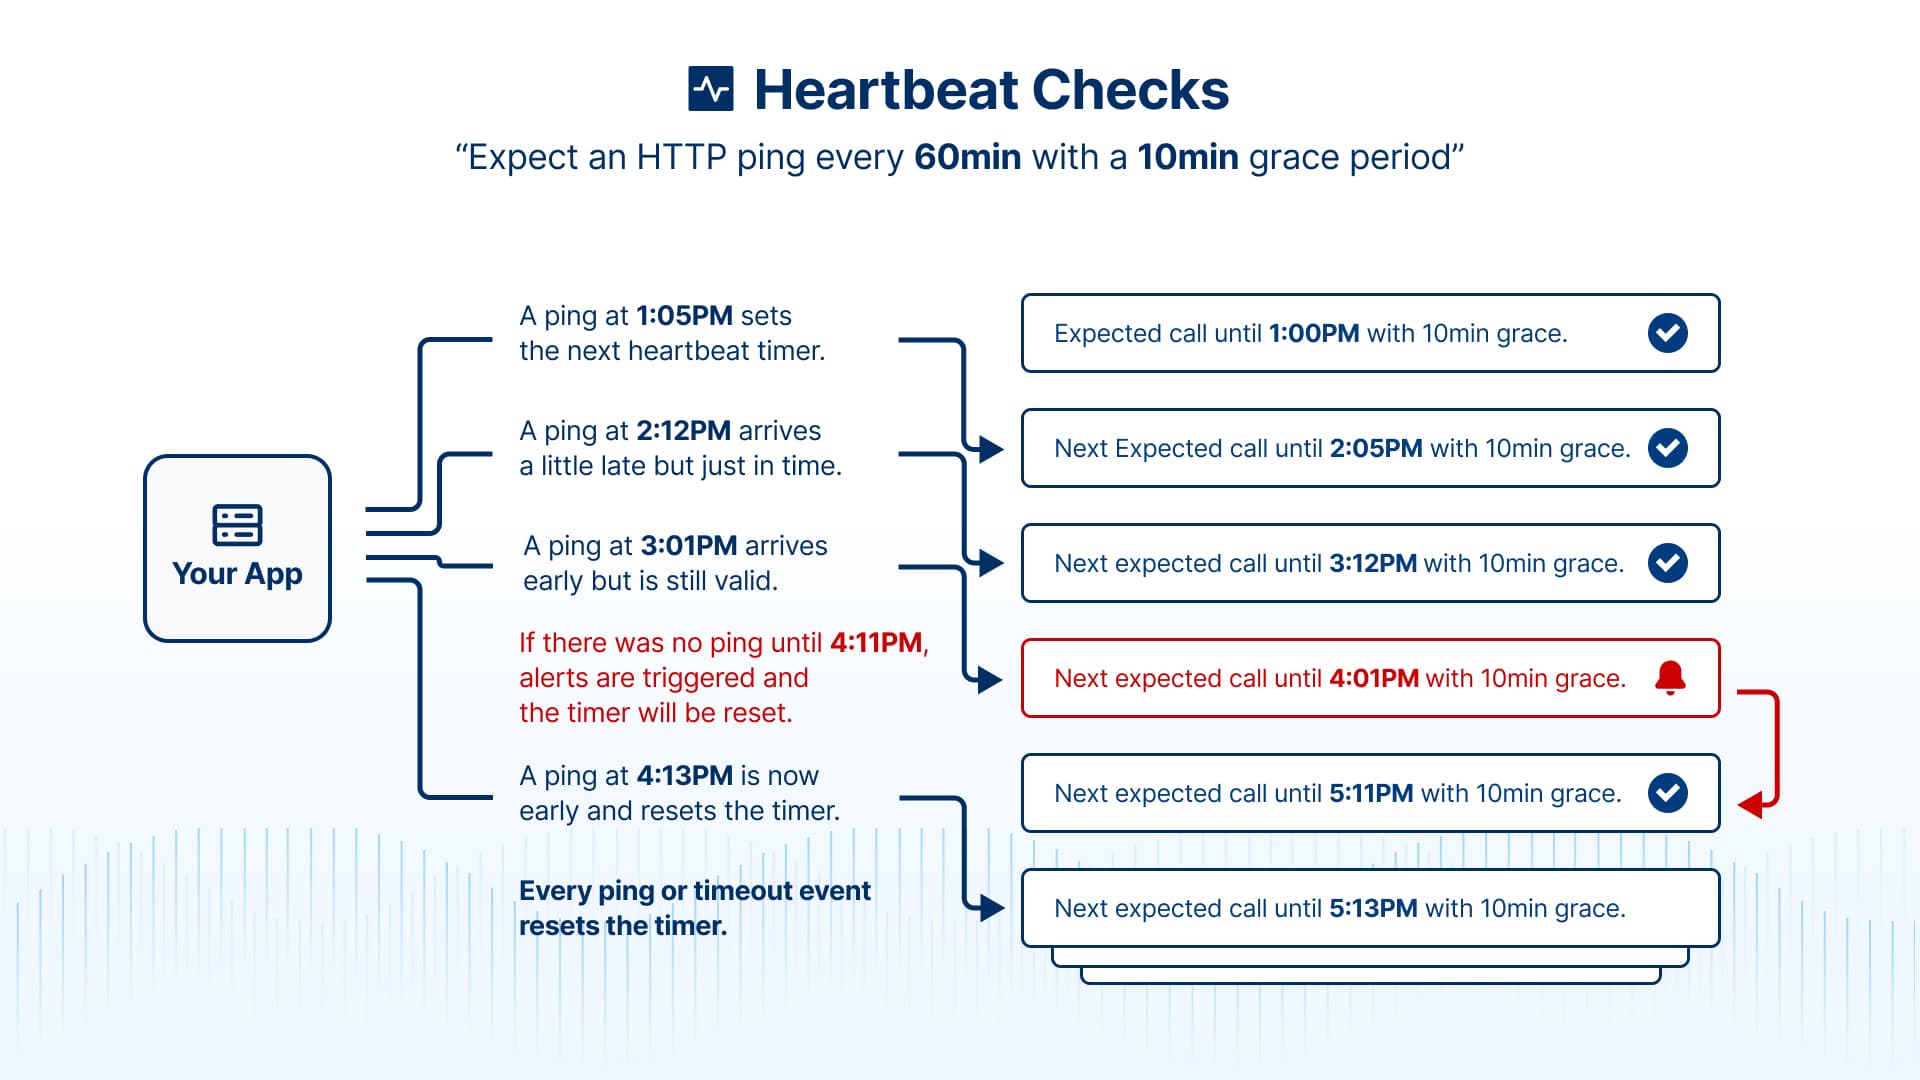
Every ping or triggered alert will reset the timer of the next expected heartbeat ping.
When a check is deactivated and activated again, the timer will start when the check is saved. This is also the case when changing the period of a check.
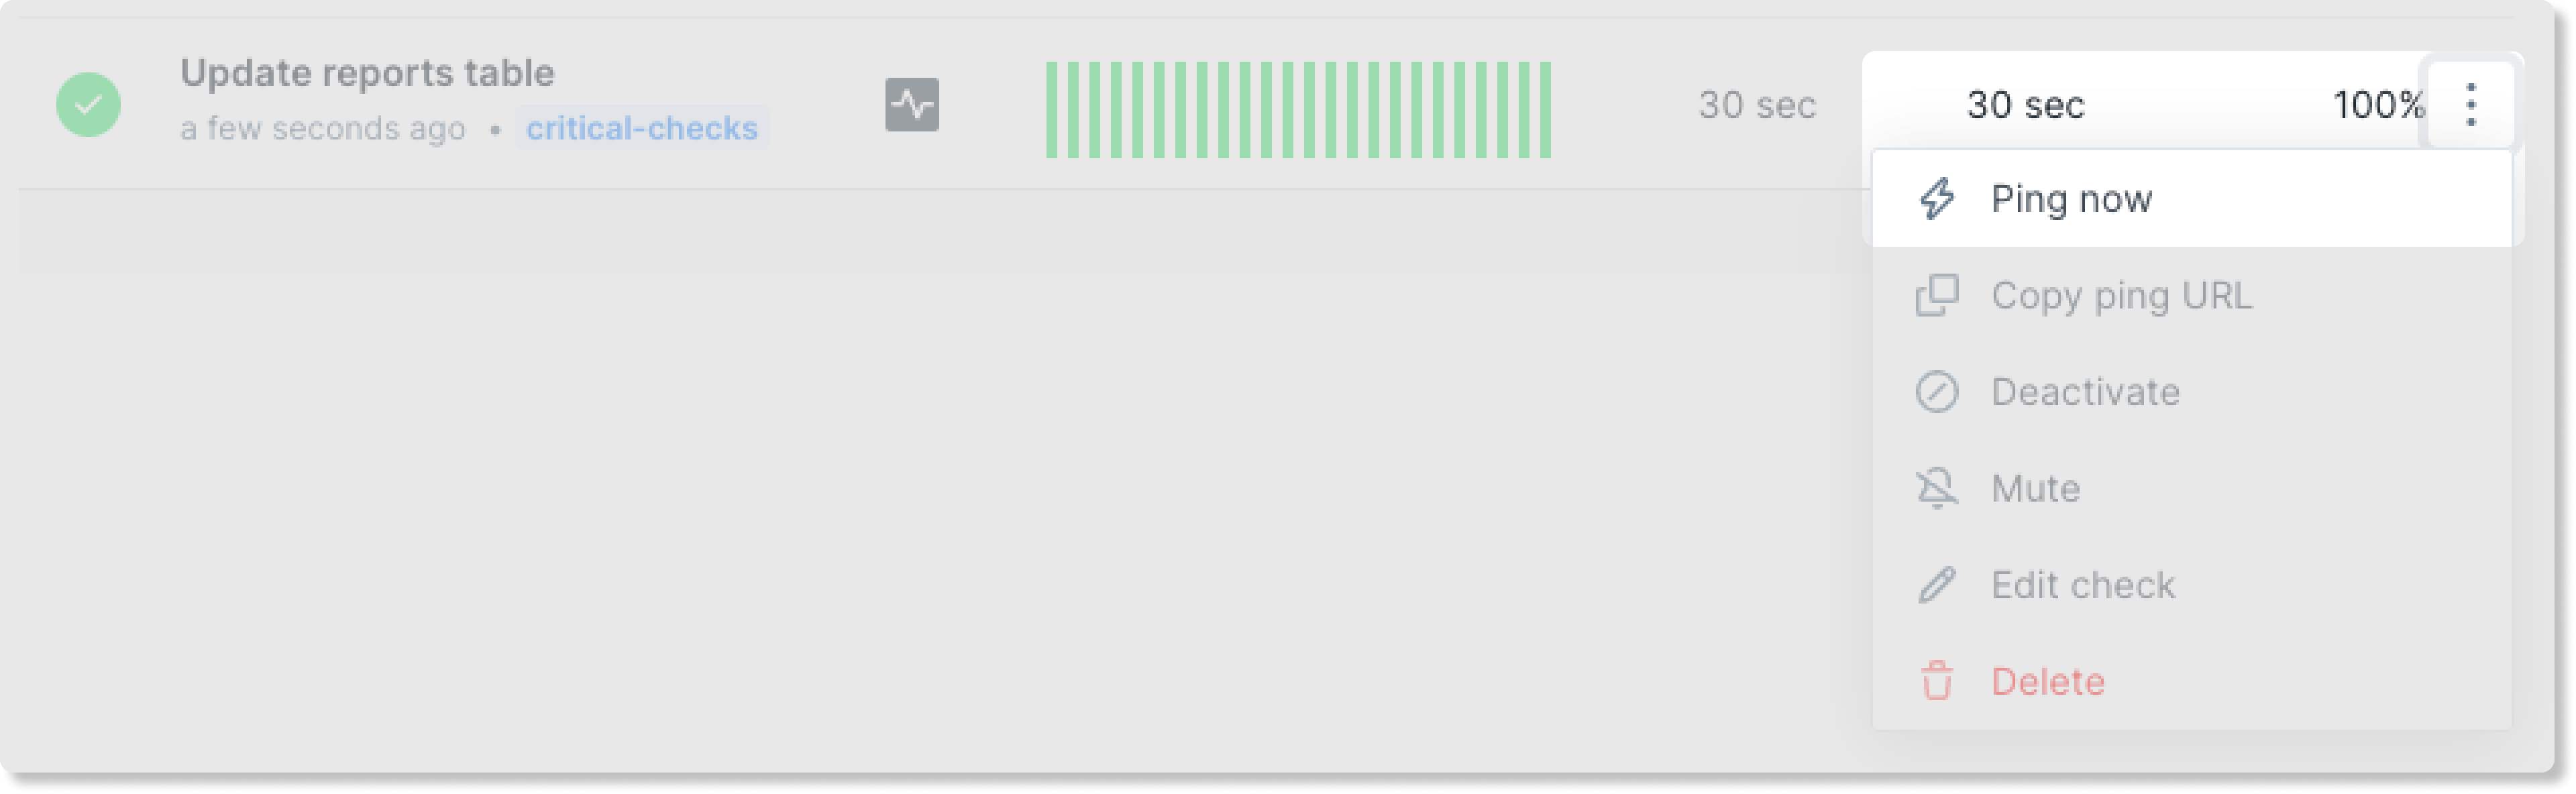
Ping now
Sends a ping to the ping URL. Use this to start the check timer when a check is first created or to silence alarms.
 Ping now is also available in the quick menu in the heartbeat overview page.
Note that some user-agents are blocked to prevent false-positive pings from bots.
We’re currently blocking Twitterbot, Slackbot, Googlebot, Discordbot, Facebot, TelegramBot, WhatsApp, LinkedInBot. Please note that this list might change in the future.
Alerting
By default Checkly uses your account default alert settings and channels. You can configure any of the provided alert channels for a heartbeat check. If we don’t provide your preferred alert method, use webhooks to configure your alert flow. When configuring a check, you can choose if it should use the account default channels or a selection specific to the check.
Note that some alerting channels, like SMS and Phone call are only available on our Team and Enterprise plans
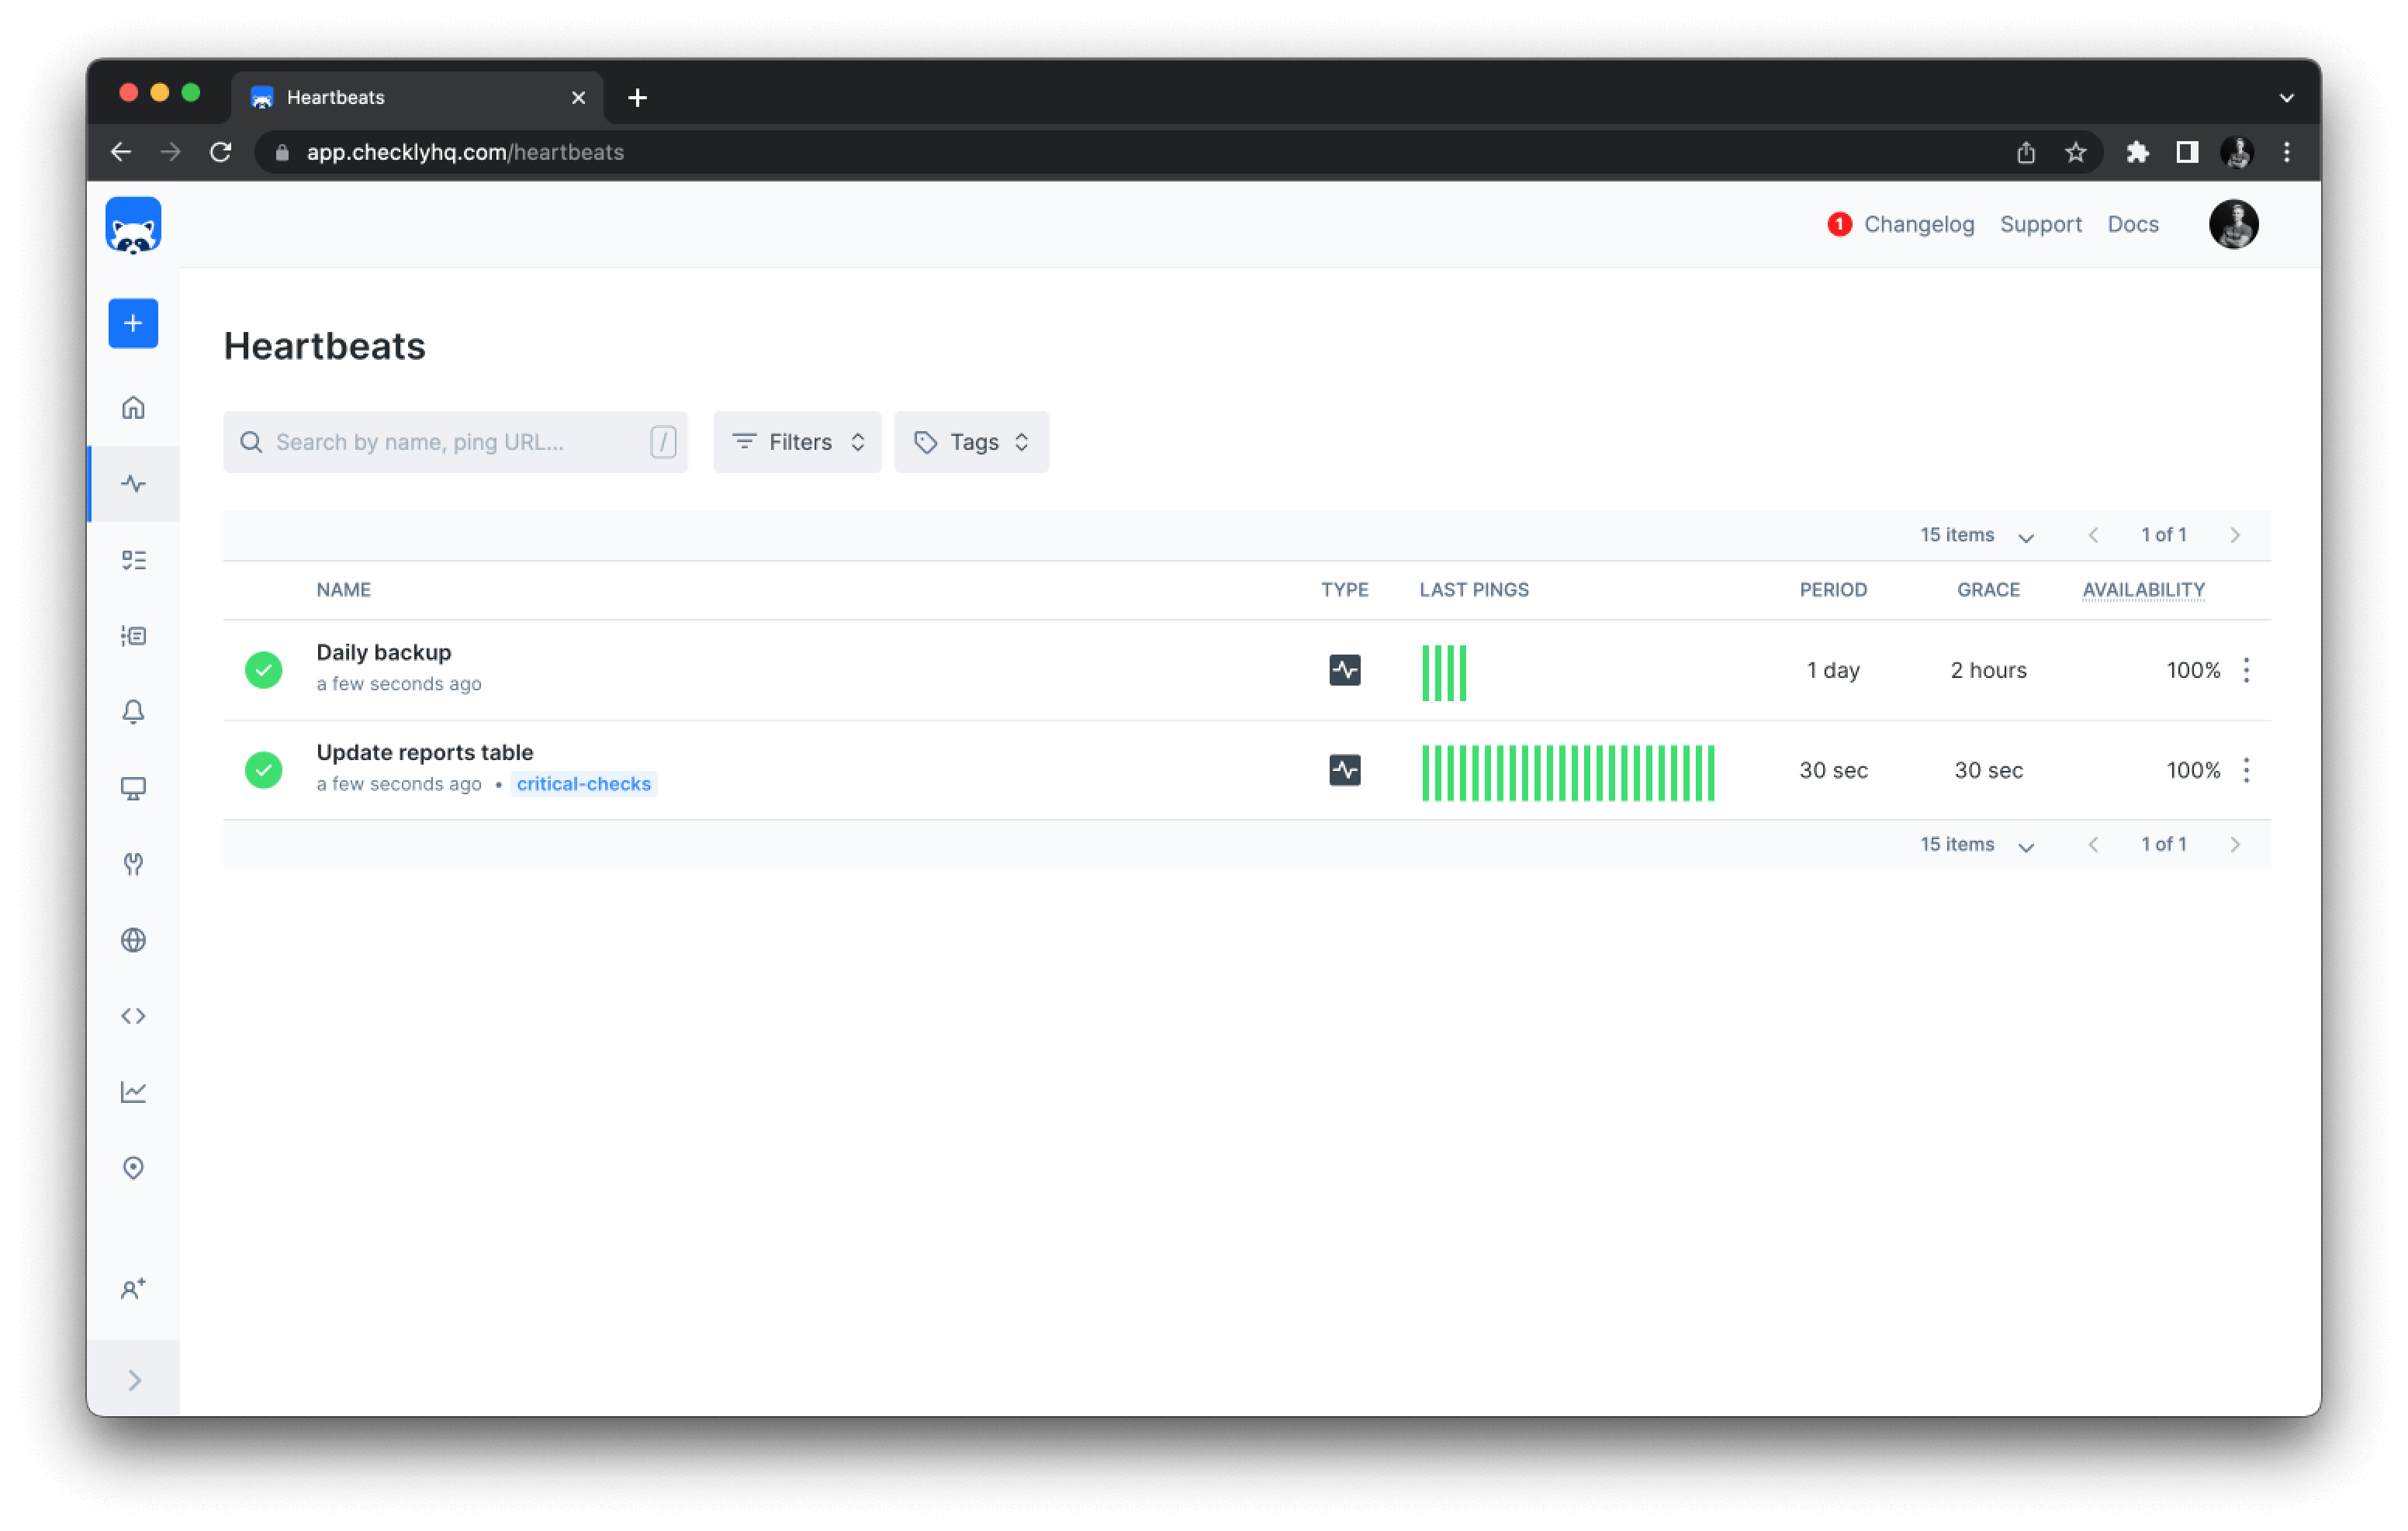
Reporting
The heartbeat overview page displays a table of all your heartbeat checks. Here you can see the results of recent pings, the configured period and grace, and the availability over the last 7 days.
Clicking any individual check will open the check overview page.
Check overview
The check overview page shows the current status of the check, as well as a breakdown of recent runs and availability metrics.
The summary section at the top of the page allows for time-based filtering, and displays the availability and number of alerts triggered for the given time period.
Single check runs can be accessed by selecting them in the timeline, or by clicking an individual result in the list below the timeline.
Select ‘View all’ for a complete list of available monitoring results in a time period.
Check results
Selecting a single check result page from the check overview page will give a detailed breakdown of the specific request.
The source value is taken from the request parameter, if available, otherwise from the request header.origin, lastly from headers.referer. If none of these are available source defers to null.
Ping examples
Here you can find examples on how to ping a heartbeat check using various types of script or programming languages.
Most examples uses GET as the request method, but Heartbeat checks also accepts POST requests. Using PUT or DELETE will return an error message and the ping will not be recorded.
Shell
Adding a ping to a shell script only requires a single line. In this example we use curl, and wget.
As mentioned earlier, we recommend using the -m and --retry options to specify timeout and retries to reduce the risk of false alerts or blocking the script. The corresponding options for wget are -t for retries and -T for timeout.
The last example shows how to do a POST request instead of GET using Curl.
# run_backup.sh

curl -m 5 --retry 3 https://ping.checklyhq.com/f0e0b1d3-665d-49d0-8bf0-3e6504c3d372
# run_backup.sh

wget -T 5 -t 3 https://ping.checklyhq.com/87c05896-3b7d-49ae-83ff-5e81323a54c4
# run_backup.sh

curl -X "POST" -m 5 --retry 3 https://ping.checklyhq.com/f0e0b1d3-665d-49d0-8bf0-3e6504c3d372
The above curl example can also be used in the Heroku Scheduler:
run_backup.sh && curl -m 5 --retry 3 https://ping.checklyhq.com/f0e0b1d3-665d-49d0-8bf0-3e6504c3d372 > dev/null
And similarly for Render cron jobs:
run_backup.sh && curl -m 5 --retry 3 https://ping.checklyhq.com/f0e0b1d3-665d-49d0-8bf0-3e6504c3d372
Kubernetes CronJob
Here is an example of how to add the curl command from earlier to a Kubernetes CronJob.
apiVersion: batch/v1
kind: CronJob
metadata:
  name: nightly
  namespace: example
spec:
  schedule: "0 2 * * *"
  jobTemplate:
    spec:
      template:
        spec:
          containers:
          - name: curl
            image: docker.io/curlimages/curl:latest
            imagePullPolicy: IfNotPresent
            command:
            - sh
            - -c
            args:
            - 'curl -m 5 --retry 3 https://ping.checklyhq.com/f0e0b1d3-665d-49d0-8bf0-3e6504c3d372;'
          restartPolicy: OnFailure
Node.js
In these examples we are using the built in https.get option, and then axios.
const https = require("https");

// Sample URL
const url = "https://ping.checklyhq.com/87c05896-3b7d-49ae-83ff-5e81323a54c4";

const options = {
  timeout: 5000,
};

https.get(url, options, (res) => {
  console.log("statusCode:", res.statusCode);

  res.on('data', (data) => {
    console.log("responseBody:", data);
  });
});
const axios = require('axios');

axios.get('https://ping.checklyhq.com/87c05896-3b7d-49ae-83ff-5e81323a54c4').then(resp => {
    console.log(resp.data);
})
Python
Using the python requests library with a timeout set to 5 seconds.
import requests

# Heartbeat URL
url = "https://ping.checklyhq.com/c3f5f5bb-6e46-431a-b7b1-35105450cddc"

# A GET request to the Heartbeat
response = requests.get(url, timeout=5)
PowerShell
Adding a ping to a PowerShell script only requires a single line. Use PowerShell and Windows Task Scheduler to automate tasks on Windows systems.
Similar to the Shell example we can specify timeout and retry options. See the Invoke-RestMethod documentation for more information.
Invoke-RestMethod -Uri https://ping.checklyhq.com/c3f5f5bb-6e46-431a-b7b1-35105450cddc -TimeoutSec 5 -MaximumRetryCount 3 -RetryIntervalSec 5
Last updated on March 27, 2024. You can contribute to this documentation by editing this page on Github